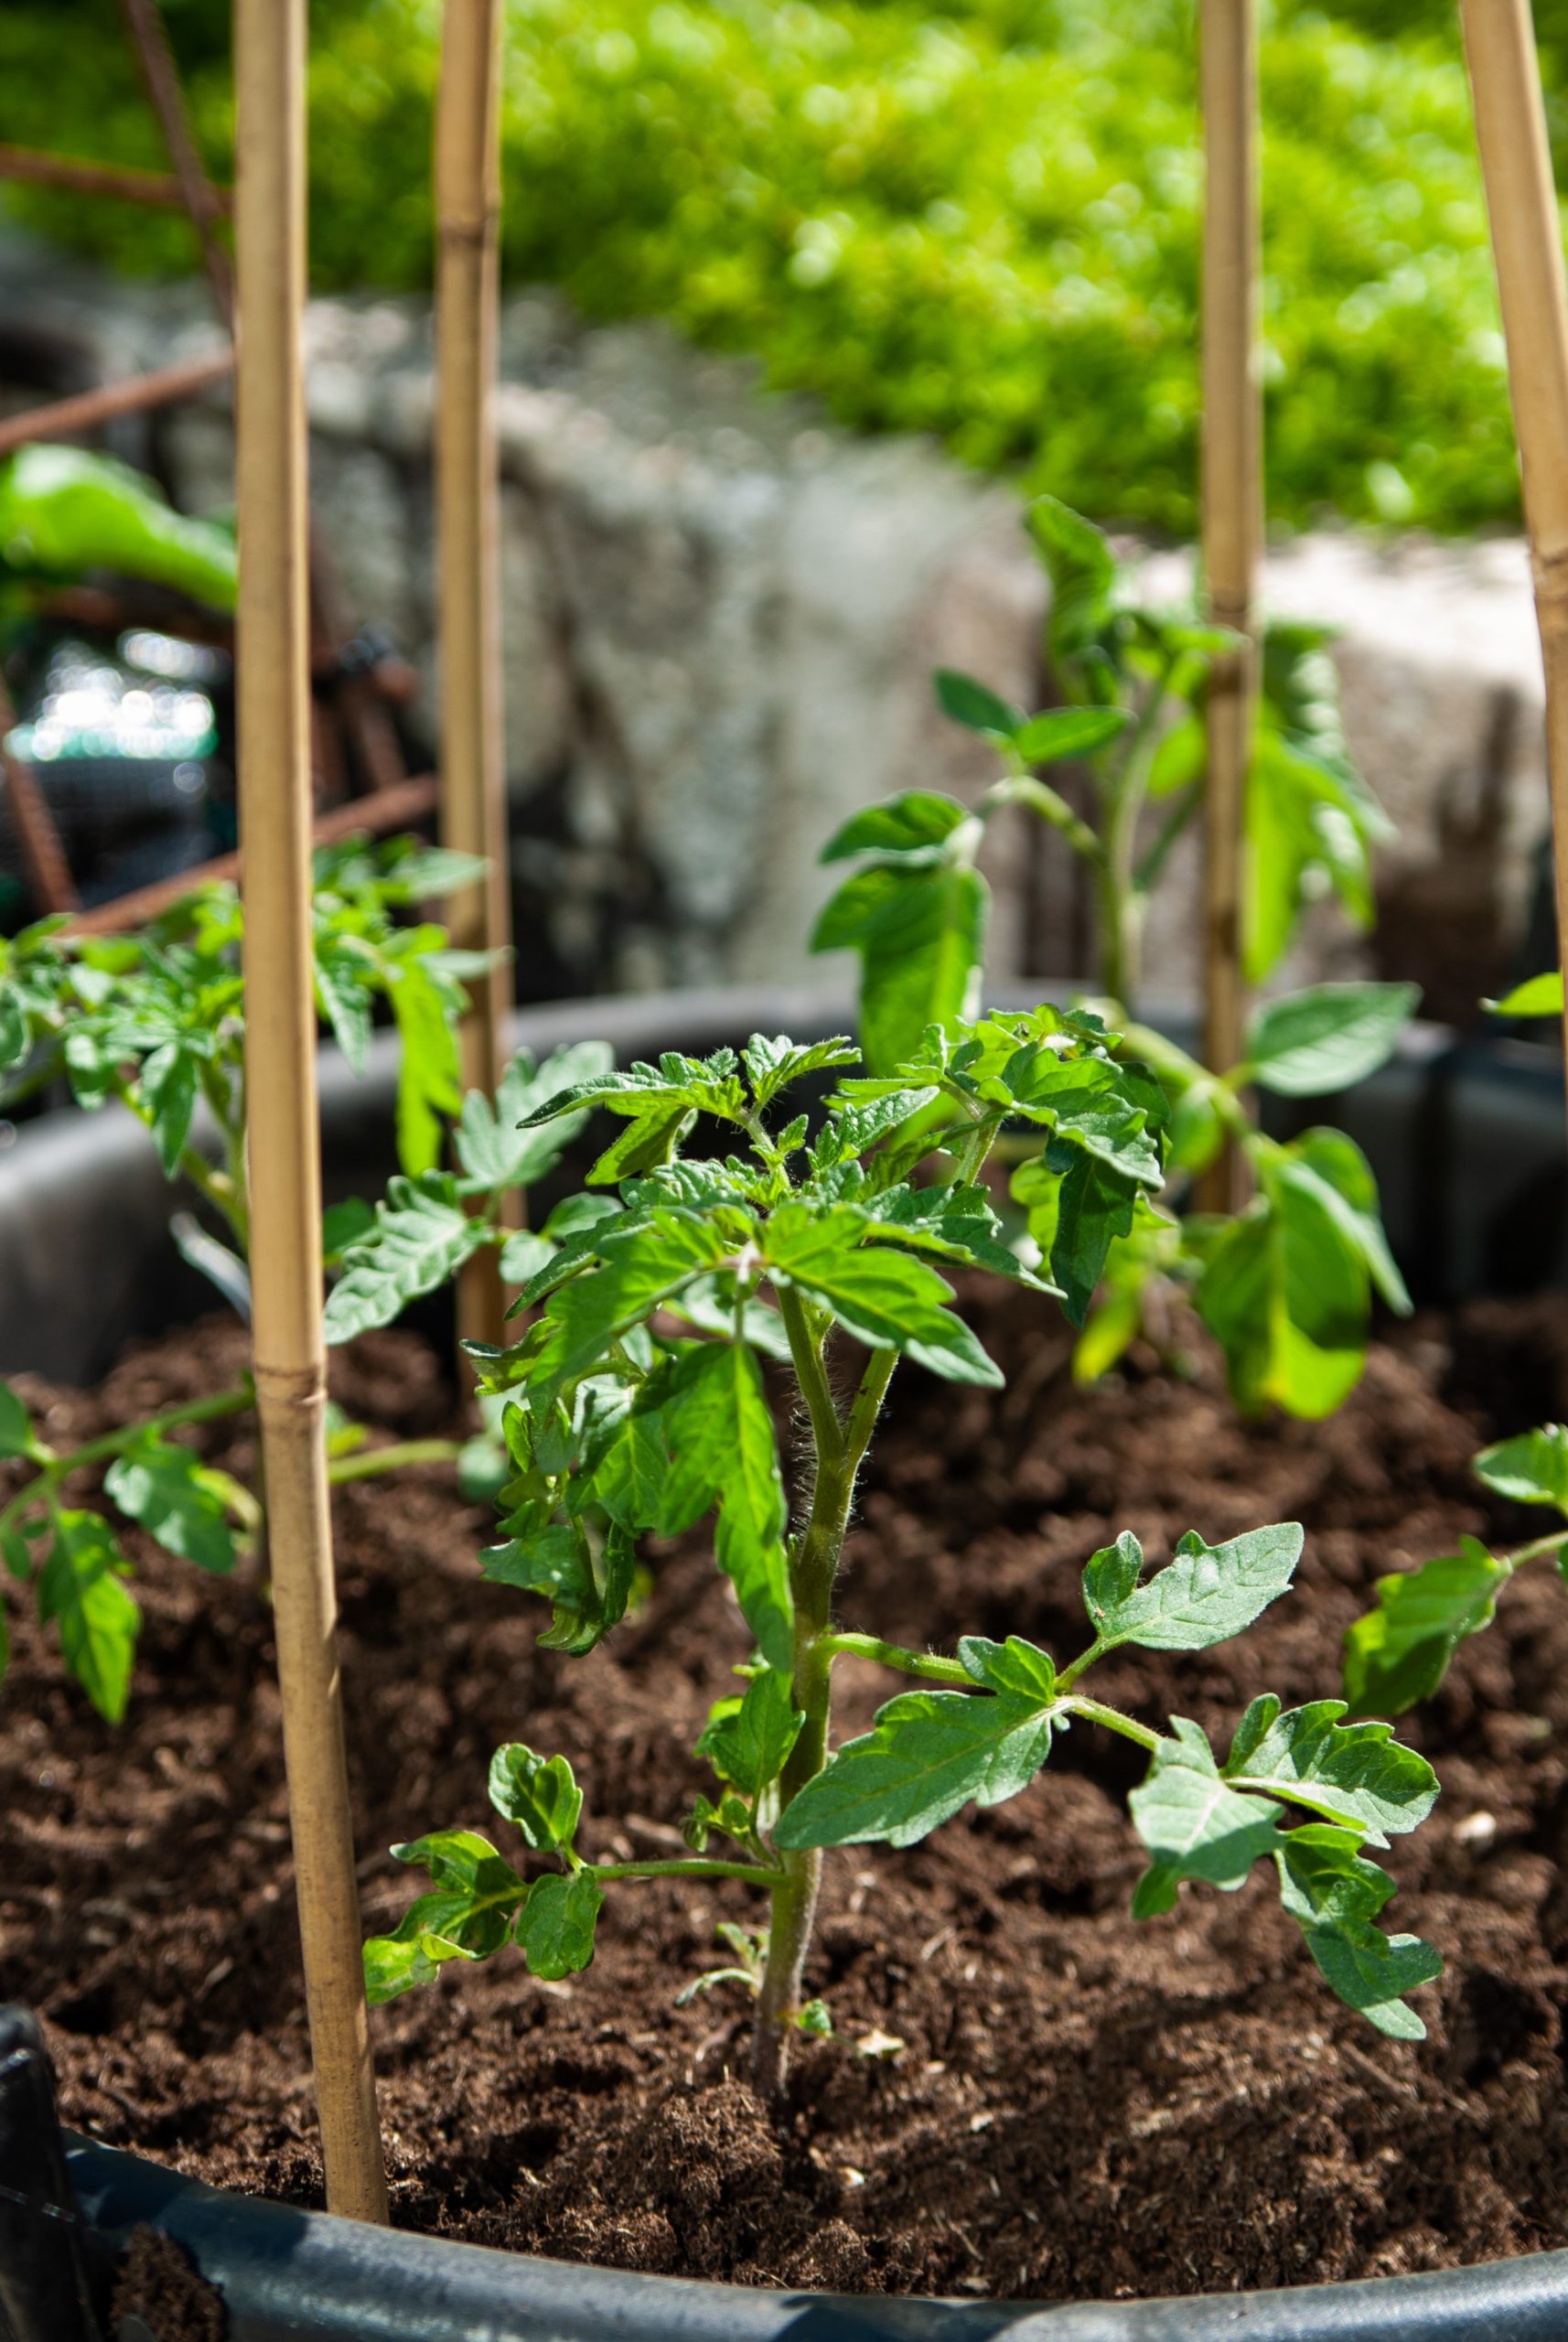
Want to know what’s even better than buying locally sourced, organic vegetables? Growing them in your own backyard! Summer is the perfect time to invest in a small garden and rev up your vegetable intake. This is a great way to give back and help the environment while staying true to your health and economizing in savings!
Building your own vegetable patch is easier than it looks. Here are a few simple tips to grow a beautiful and abundant vegetable garden.
Tip #1: DECIDE WHAT YOU WANT TO GROW
Figure out what you want to grow. Do a little bit of research on what grows best in your particular area and then pick what’s in season. My summer go to’s for my vegetable patch are various kinds of tomatoes, cucumbers, peppers, squash, zucchini and herbs such as basil, rosemary, mint and cilantro.
Tip #2: LOCATION, LOCATION, LOCATION
Choose a location where sunlight is abundant. If you have children and animals, choose an area that will not encroach in their desired areas of play. Choose a place that you can easily maneuver and access away from the hustle and bustle of the summer activities.
Something to not ignore is companion planting. It’s important to understand that not every plant and herb grows well next to each other. Here’s a great resource if you need to learn more about companion planting.
Tip #3: EXPLORE BED OPTIONS
Set up your garden bed. You can set up your bed right on the ground, or opt for a raised bed. A raised garden bed should be around three to four feet in width so that you are able to reach the center without stepping, compacting or damaging the plants. Raised beds are very easy to maneuver for a beginner gardener and very easy to set up with an extra hand.
Tip #4: PRE-SPROUT YOUR SEEDS
Pre-sprouting your seeds before transferring them outside is a great tip for growing a healthy garden. Simply moisten a paper towel and spread the seeds out evenly. Take another moist paper towel and lay it on top of the seeds.
Place the paper towel nursery inside a large Zip Loc and close it halfway. Place your DIY nursery in a warm area and check the seeds every day (above the fridge is also a great option). Allow a few days for the seeds to germinate and re-moisten the towels when needed – they should not dry out.
When the seeds sprout roots, transfer them to a starter pot. You can repurpose an old carton of eggs, old mugs or solo cups and let your seeds sprout further in a small bed of soil. Wait for the seeds to grow about three to five inches before planting them in your garden bed. You want them to be strong enough to withstand the outdoors on their own.
Tip #5: MAKE SURE YOUR BED IS READY
Prepare your soil in the garden bed with a spading fork or shovel to loosen and break up any large chunks of dirt. Rake the area and remove any debris such as rocks, roots, grass and weeds. Fill the bed almost all the way to the top with fresh soil and mix it all together with a hoe.
Tip #6: GIVE THEM SPACE
When your seeds have sprouted just enough to uphold the outdoor weather, plant them in your bed. Leave enough room between given plants. Allow them enough space to grow and spread!
Finally…
Tend to your garden every day. Check the soil and water as needed in the morning and evening — especially on days where heat and sunlight are at an all time high. Pick any weeds, rocks or extra debris that might make its way into your garden at some point. A well tended garden will allow you to reap the benefits of a beautiful summer harvest.


Comments +